Replaces
This part doesn’t fit a . Select from parts that fit.
Frequently bought together
Part Details
Product Features
Item Condition:
New
Attention California Customers:
 WARNING: This product can expose you to chemicals including Lead and Lead Compounds, which are known to the State of California to cause cancer, and birth defects or other reproductive harm. For more information, go to www.P65Warnings.ca.gov.
Lifetime Warranty
This item is backed by our limited lifetime warranty. In the event that this item should fail due to manufacturing defects during intended use, we will replace the part free of charge. This warranty covers the cost of the part only.
FREE Shipping is standard on orders shipped to the lower 48 States (Contiguous United States). Standard shipping charges apply to Hawaii and Alaska.
Shipping is not available to a P.O. Box, APO/FPO/DPO addresses, US Territories, or Canada for this item.
Expedited is available on checkout to the United States, excluding Alaska, Hawaii.
Final shipping costs are available at checkout.

Created on:
Tools used
Brought to you by 1AAuto.com, your source for quality replacement parts and the best service on the internet.
Hi, I'm Jeremy from 1AAuto. I'm going to help you fix your car today, and the next time you need parts for your car think of 1AAuto.com. Thank you.
In this video, we're going to show you how to replace the front brakes on a 2003 Honda Civic. It's pretty much the same for a 2001-2005 Honda Civic. The tools that you'll need for this job include a jack and jack stands, 19mm socket and breaker bar, 12mm wrench, 17mm wrench, Phillips screwdriver, large c-clamp, wire brush, some anti-seize, and a torque wrench.
The first step is to break the lug nuts loose, and you do that by leaving the car on the ground so that the wheel doesn't spin when you lift up on it. Here we go. Now we're going to raise the car up and take the wheel off. Now we're going to pull it off.
The next step is to pull these two screws out of the rotor. Normally they're stuck in there really tight, so I try to use a screwdriver first, and then go on to more drastic measures if need be. These are actually coming out.
The next step is to remove these two 12mm bolts that hold the caliper to the caliper bracket. You can use a ratchet or the style wrench. One trick is to connect the two wrenches together, and then bump them with your fist so you can pull them out. The next thing I like to do is pull the caliper really hard toward me so that it compresses the piston inside the caliper. It makes the caliper loose, making it easier to remove. Remove the caliper.
Now we can take the brake pads out. These ones are in pretty good shape, so we'll probably end up putting these right back in. Then you're going to take off the caliper bracket, which, once again, you can use the same method of linking the wrenches together to break it loose. Now the caliper bracket is off.
Now that we have the caliper bracket off, we can take off the rotor, as you can see.
For reinstall, place the rotor back on the hub. Apply a little anti-seize to the Phillips screws, and put them back in the rotor. Clean up the brake pad slides to make sure that they're not going to make the brake pad bind up and cause uneven brake pad wear. Now we have the caliper bracket that needs to go back on.
Then we can put the bracket right back on after it's nice and clean. We are now ready to put the brake pads in. Normally, they're brand new and you can just slide them in, where this one is used. I'm probably going to put a little anti-seize on this as well. It does exactly what it is called, and it prevents the brake pads from sticking in the slides. You can see the squeaker right here. This is the thing that makes all the noise whenever you need new brake pads. That goes right here on the inside. You're going to need to compress this caliper. The best way to do that is actually with a giant C-clamp. As you can see, as you tighten the C-clamp, it pushes the piston in. Pretty awesome, right? Now it's completely compressed and you can pull the C-clamp out.
Like I said before, put the caliper on. Here's the caliper bolts. Once again, anti-seize. If you live in a dry climate, these things won't be rusty, but in New England, they're always rusty. Voila, your brakes are back together again.
It's now time to put the tire back on. Slide the wheel into place and tighten the lug nuts preliminarily. Lower the vehicle to the ground. The last step is to torque the wheels. I usually a hundred foot-pounds on pretty much all the wheels that I tighten. Basically, grab your torque wrench, always do it in a cross pattern so that the wheel goes on straight. Now the pedal's pumped and the brakes feel good again.
Hopefully this video has helped you out. You can visit us at 1AAuto.com for replacement parts and the best service on the internet.
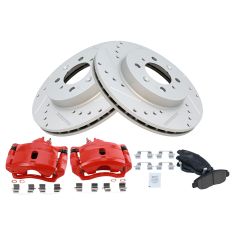
Replaces Honda Civic Insight Front Ceramic Performance Brake Pad & Rotor Kit with Calipers DIY Solutions BFS02034
$249.95
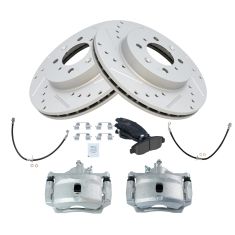
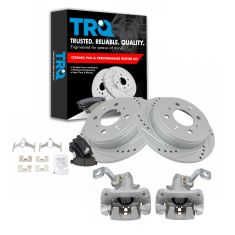
Replaces Honda Civic Front Ceramic Performance Brake Pad & Rotor Kit with Calipers & Hoses TRQ Performance BKA34021
$218.95
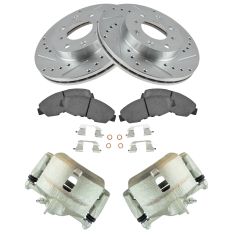
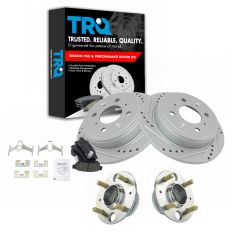
Replaces Honda Civic Insight Front Ceramic Performance Brake Pad & Rotor Kit with Performance Calipers TRQ Performance BKA33521
$209.95

Replaces Honda Civic Insight Front Ceramic Performance Brake Pad & Rotor Kit with Calipers TRQ Performance BKA14065
$209.95
Replaces Acura Integra Rear Driver & Passenger Side Ceramic Performance Brake Pad & Rotor Kit TRQ Performance BKA21624
$206.95
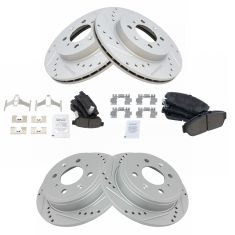
Replaces Honda Civic Acura Integra Front & Rear Ceramic Performance Brake Pad & Rotor Kit TRQ Performance BKA12287
$164.95
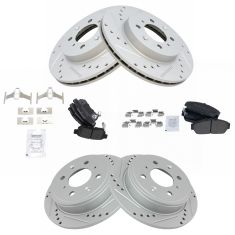
Replaces Honda Civic Acura Integra Front & Rear Semi-Metallic Performance Brake Pad & Rotor Kit TRQ Performance BKA12228
$159.95
Replaces 1999-00 Honda Civic SI Front & Rear Ceramic Brake Pad & Rotor Kit TRQ BKA11776
$142.95
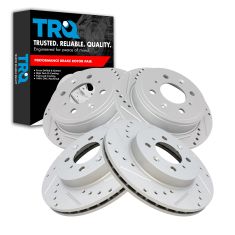
Replaces Honda Acura Front & Rear Performance 4 Piece Brake Rotor Set TRQ Performance BRA13966
$129.95
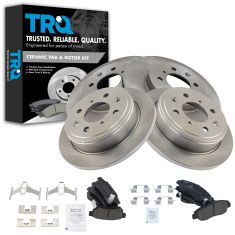
Replaces Honda Acura Rear Ceramic Performance Brake Pad & Rotor Kit with Pad Wear Sensor TRQ Performance BKA21740
$123.95
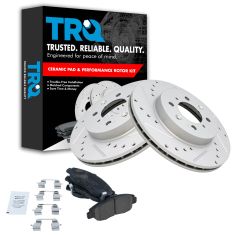
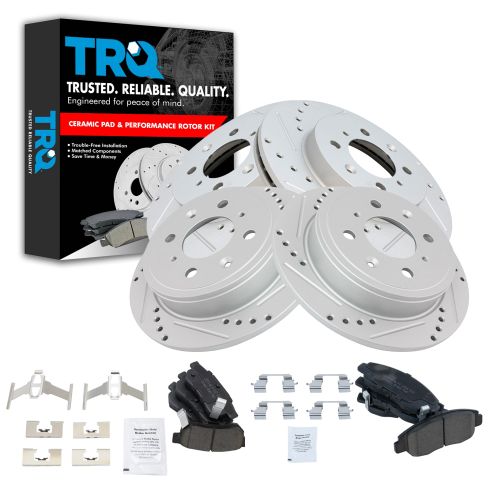
Replaces Honda Civic Insight Front Ceramic Performance Brake Pad & Rotor Kit TRQ Performance BKA12285
$104.95
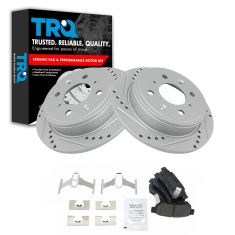
Replaces Honda Acura Rear Ceramic Performance Brake Pad & Rotor Kit TRQ Performance BKA12261
$84.95
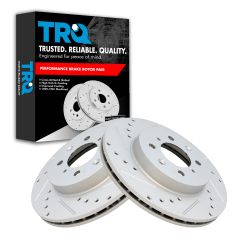
Replaces Honda Acura Front Driver & Passenger Side Performance 2 Piece Brake Rotor Set TRQ Performance BRA74627
$79.95
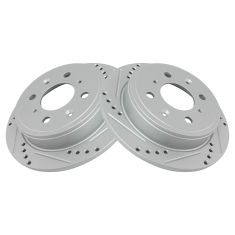
Replaces Honda Acura Rear Driver & Passenger Side Performance 2 Piece Brake Rotor Set TRQ Performance BRA74654
$69.95

Replaces Honda Civic Front & Rear Ceramic Brake Pads TRQ BFA20084
$54.95
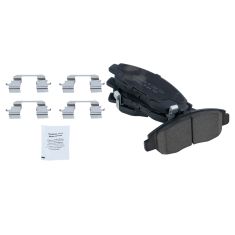
Replaces Honda Accord Civic Insight Acura CL Front Ceramic Brake Pads TRQ BFA73092
$44.95